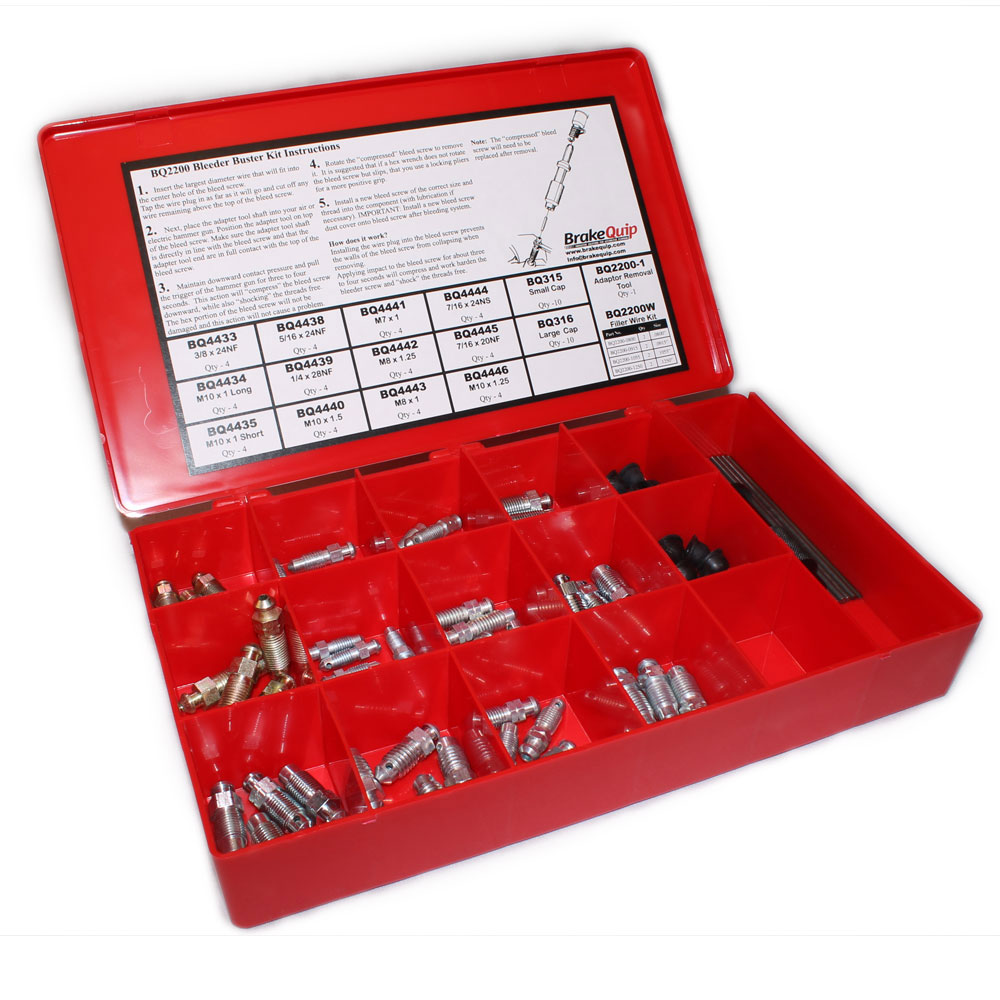
Never be afraid to remove a rusty bleed screw again. This kit turns you into the bleed screw assassin. In the past you’ve removed them gently now you’ll get to crush them with an air hammer. After simply remove the screw now filled with wire and solid as a steel bolt. Once done flick them into the trash can like a cigarette butt.
Pull out a freshly manufactured replacement from your kit, install it, and bleed your brakes in less time than you would have spent looking for your screw extraction kit.
Includes tool, large variety of replacement screws and caps. Black mask not included.
SKU: BQ2200 Category: Tools
popis produktu
- No more heating up
- No more drilling and tapping
- No more cursing
The bleeder buster will:
- Can save you a lot of time
- Will pay for itself quickly
- Works on both cast iron and aluminum
- Remind you why you got into working on cars in the first place
How To Use The Bleeder Buster
- 1. Insert the largest diameter wire that will fit into the center hole of the bleed screw. Tap the wire plug in as far as it will go and cut off any wire remaining above the top of the bleed screw.
- 2. Place the adapter tool shaft into your air or electric hammer gun. Position the adapter tool on top of the bleed screw. Make sure the adapter tool shaft is directly in line with the bleed screw and that the adapter tool end are in full contact with the top of the bleed screw.
- 3. Maintain downward contact pressure and pull the trigger of the hammer gun for three to four seconds. This action will “compress” the bleed screw downward, while also “shocking” the threads free. The hex portion of the bleed screw will not be damaged and this action will not cause a problem.
- 4. Rotate the “compressed” bleed screw to remove it. It is suggested that if a hex wrench does not rotate the bleed screw and slips, that you use a pair of locking pliers for a more positive grip.
- 5. Install a new bleed screw of the correct size and thread into the component (with lubrication if necessary).
How The Bleeder Buster Works
Installing the wire plug into the bleed screw prevents the walls of the bleed screw from collapsing when removing. Applying impact to the bleed screw for about three to four seconds will compress and work harden the bleeder screw and “shock” the threads free.
Poznámka: The “compressed” bleed screw will need to be replaced after removal.
| Číslo | Popis obsahu | KS |
|---|---|---|
| BQ2200-1 | Bleeder Removal Tool | 1 |
| BQ2200W | Bleeder Filler Wire | 1 |
| BQ315 | Bleeder Cap Small | 10 |
| BQ316 | Bleeder Cap Large | 10 |
| BQ4433 | Bleeder Screw 3/8-24 UNF | 4 |
| BQ4434 | Bleeder Screw M10 x 1.0 Long | 4 |
| BQ4435 | Bleeder Screw M10 x 1.0 Short | 4 |
| BQ4438 | Bleeder Screw 5/16-24 UNF | 4 |
| BQ4439 | Bleeder Screw 1/4-28 UNF | 4 |
| BQ4440 | Bleeder Screw M10 x 1.5 | 4 |
| BQ4441 | Bleeder Screw M7 x 1 | 4 |
| BQ4442 | Bleeder Screw M8 x 1.25 | 4 |
| BQ4443 | Bleeder Screw M8 x 1 | 4 |
| BQ4444 | Bleeder Screw 7/16-24 UNS | 4 |
| BQ4445 | Bleeder Screw 7/16-20 UNF | 4 |
| BQ4446 | Bleeder Screw M10 x 1.25 | 4 |
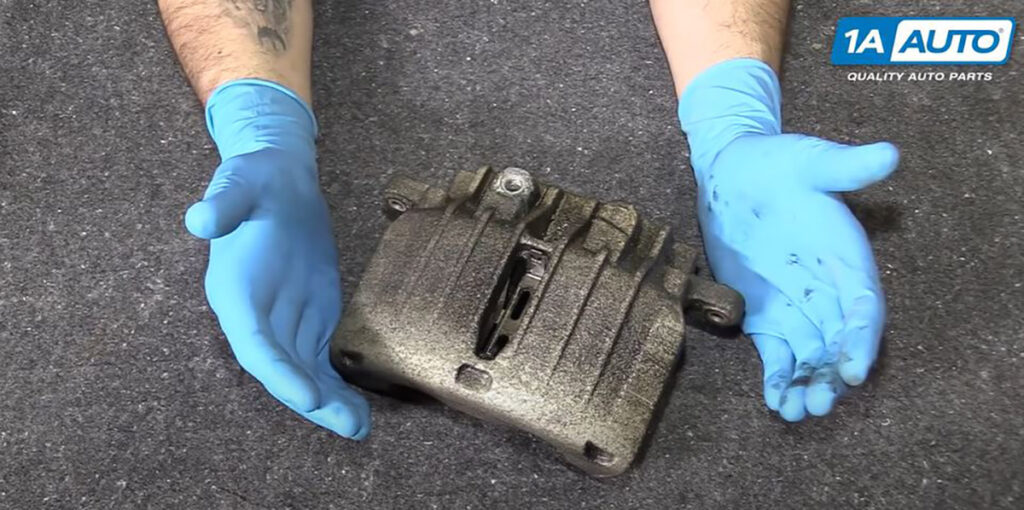
You may find a frozen or broken bleeder screw that is stuck or snaps off when trying to bleed the brakes. Dissimilar metals tend to corrode and fuse together, and a steel bleeder screw and an aluminum brake caliper is one reason rust is able to bind these together so easily. Fortunately there are a few methods you can try to remove it that we cover in this article and video.

If the bleeder screw is broken and unable to be removed, you will need to replace the entire caliper. You can’t bleed the brakes if you can’t loosen the screw, and if you can’t bleed the brakes you aren’t going to be able to stop safely. This makes the brake caliper defective and means you’ll need a new one.
If the screw is just stuck, here are three methods you can try to remove it so it doesn’t break and snap off.
How to remove a stuck or frozen brake bleeder screw
- Clean the Area with a Wire Brush, Spray Rust Penetrant, Tap the Side of the Caliper with a Hammer, and Loosen and Tighten the Bolt Thoroughly clean the bolt with a wire brush, removing as much debris and rust as possible. At the least, this will give you less rust and contaminants to loosen and clear.
Once the rust and corrosion is clear, apply rust penetrant. Many different kinds exist to help loosen these parts, and it’s a go-to method for many frozen parts.
You can try to tap the edge of the brake caliper with a hammer to rattle and loosen the corrosion. Don’t use a large hammer and don’t swing too hard to not damage the caliper by cracking or breaking the aluminum. A standard claw hammer will work just fine, and lightly tap it about 20 times to try and loosen the bolt.
Then loosen the bolt with a ratchet or smaller breaker bar. A ratchet will work fine but a smaller breaker bar also works great. Try to crack the screw loose, even just a little. Then tighten it up a little. Keep loosening and tightening the bolt, and try to get the screw to crack loose. If it moves, take your time and apply more oil as needed. This should help clear and loosen the rust and corrosion that is binding the screw to the caliper.

Remove the Bolt with an Air Hammer An air hammer will act like an impact tool but give you more control. An impact tool will twist upon contact, which can strip or break the bleeder valve, but an air hammer will send a steady vibration to hopefully crack and loosen the corrosion to break the bolt free. Then you can attach a wrench to the bit at the same time to start rotating it at your own pace.
Wear safety glasses and hearing protection, and use an impact socket when using impact tools. If you use a chrome socket, it can break and shatter. A rounded bolt removal socket can help with this also. Its design will cut into the edges of the bolt to help grip and turn it. You may need to tap the socket on with a hammer.

Heat the Area with a Blow Torch, and Loosen the Screw with Vise Grips and a Hammer If you used any rust penetrant, wipe it off with a cloth and any other grease or oil in the area. Since the brake caliper is made of aluminum, has rubber boots, and brake fluid inside, you don’t want to use too much heat, but heat can loosen the bolt. Heat the base where the threads go into the caliper. This will expand the opening and reduce tension on the threads. Do not heat the actual screw. Heating the bolt directly will cause it to stick tighter. Heat this area for some time, around a minute.
This next step may work with or without head applied. Clip vise grips to the screw tightly and tap the end of the handle with a hammer to loosen the bolt. Try removing the bolt with a socket and ratchet again, but be careful because the caliper will be hot. Heat the caliper more if needed.

What to Do If You Removed the Broken Bleeder Valve
If you removed the bleeder screw, install a new one. If you can’t remove it, you’ll need to replace the entire caliper.

DIY Tips: Replace Parts on Your Car
Find out how to replace parts on your own car with our how-to videos. We have thousands of how-to videos for many makes and models covering diagnostics and installation instructions for many parts.
Learn More Tips
- What Does the Slide Pin Rubber on the Lower Brake Caliper Bolt Actually Do?
- Jak dlouho obvykle vydrží brzdy?
- Jak sami odvzdušnit brzdy
- Proč moje Power Windows přerušovaně fungují?
Prodej náhradních dílů a nářadí
- Brzdy a ložiska kol
- Řízení a odpružení
- Světlomety a osvětlení
- Nářadí a příslušenství


